How to Replace a Downspout in 5 Easy Steps
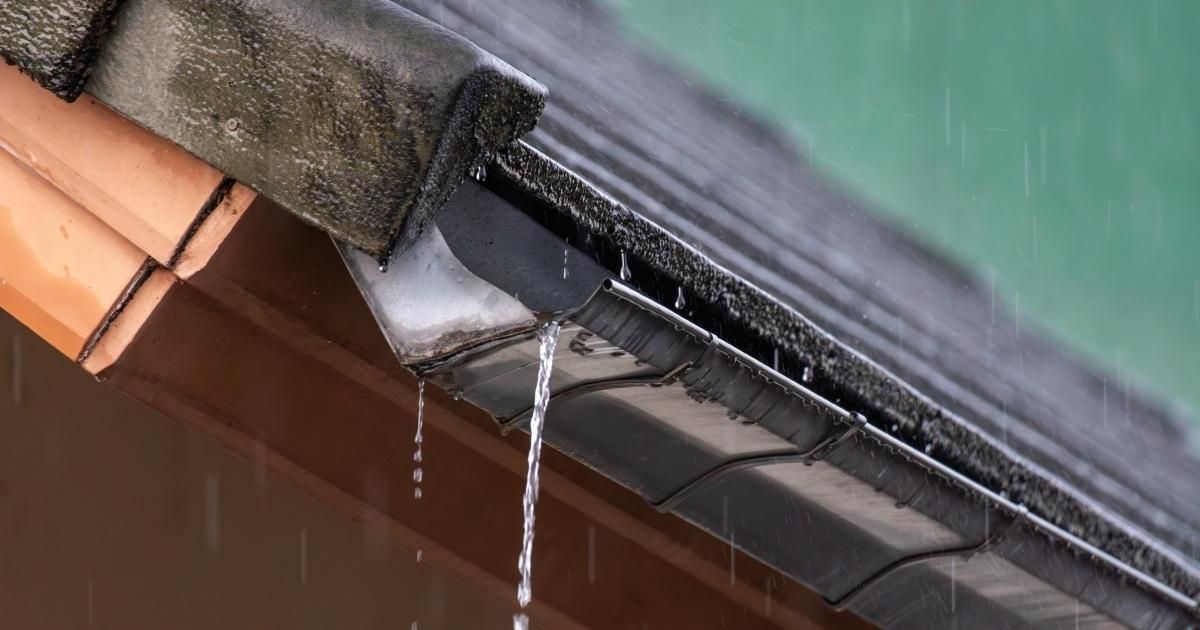
Homeowners can easily overlook gutter replacement; maybe that’s because they underestimate the important role of a properly functioning downspout. Faulty downspouts can lead to serious water damage to your home’s foundation, landscaping, or basement. Installing downspouts will likely be necessary when you experience or notice leaks, rust, or detachments.
Thankfully, DIY homeowners can easily learn how to install a downspout. Equipped with a hacksaw, drill, screws, tape measure, and sealant, confident handyman types can complete the task efficiently.
For those wondering how to attach a gutter downspout, this simple 5-step guide will demonstrate how to install a downspout.
In this blog, we will cover:
- Removing the Old Downspout
- Measuring and cutting the New Downspout
- Attaching the Downspout to the Gutter outlet
- Securing the Downspout to the Wall
- Connecting the Downspout Extension
What You’ll Need to Replace a Gutter Downspout
There’s a lot to know about gutters so before you start, let’s look at what you’ll need to get started. Gather all the tools and materials needed for a safe and smooth downspout gutter installation.
Essential Tools and Materials:
- Ladder - sturdy and sized correctly
- Drill - and appropriate bits
- Screwdriver
- Hacksaw - for cutting the downspout to size
- Metal file - to smooth off sharp edges
- Measuring tape
- Gutter sealant
- Protective gloves and safety glasses
Ensure your downspout components match your current gutter system in size and material type (aluminum, vinyl, or steel). And keep the right tools for the job handy. While installing downspouts, keep safety front and center of your operations. Always place your ladder on level ground and ensure it is fully locked before climbing. Protect your peepers with safety glasses and hands with gloves to protect them from sharp metal edges.
Step 1 – Remove the Old Downspout
Prep your downspout gutter installation project by first removing the old one. Position your ladder securely, ensuring a comfortable height on stable ground.
Proceed by unscrewing the brackets or straps that secure the downspout to the house exterior. Usually, you will find one or two points attached to the length of the downspout. The connection can stick sometimes because of rust or time, but extra wiggling or tweaking can release it.
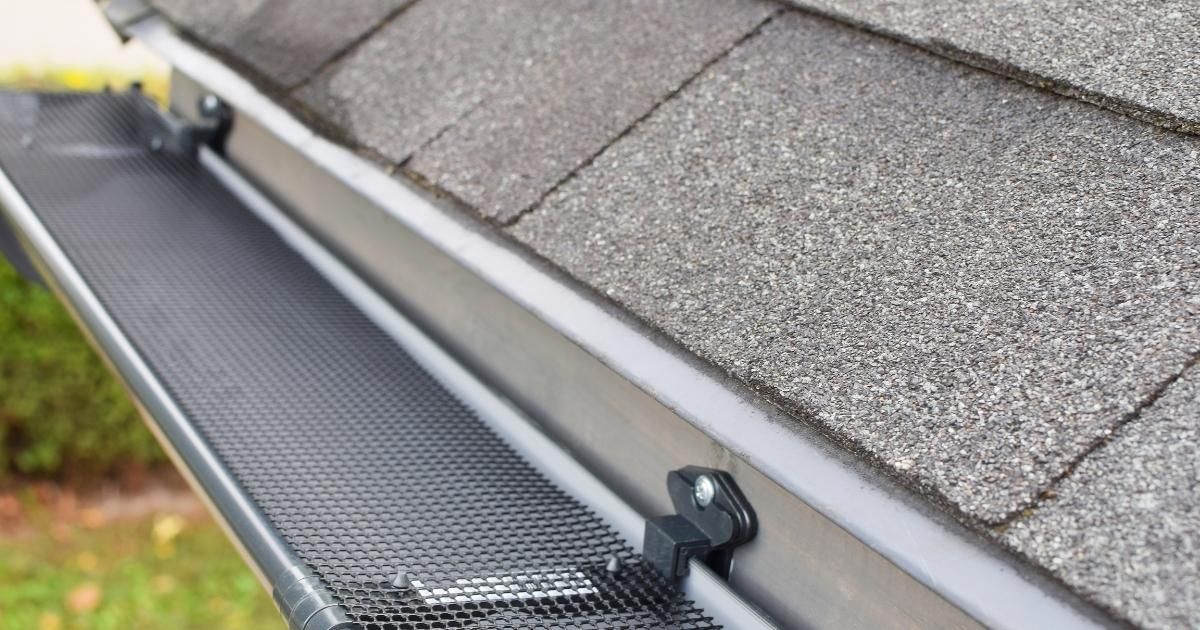
Follow up by inspecting the downspout and gutter outlet for signs of rust, corrosion, or damage.
Pro tip:
If the joins are stuck
you can spray the tight areas with WD-40 and let it work a bit. The penetrating oil will loosen corroded screws and make the removal process much easier. Grab a pair of pliers for a strong grip if needed. With the downspouts detached, you’re ready for step 2.
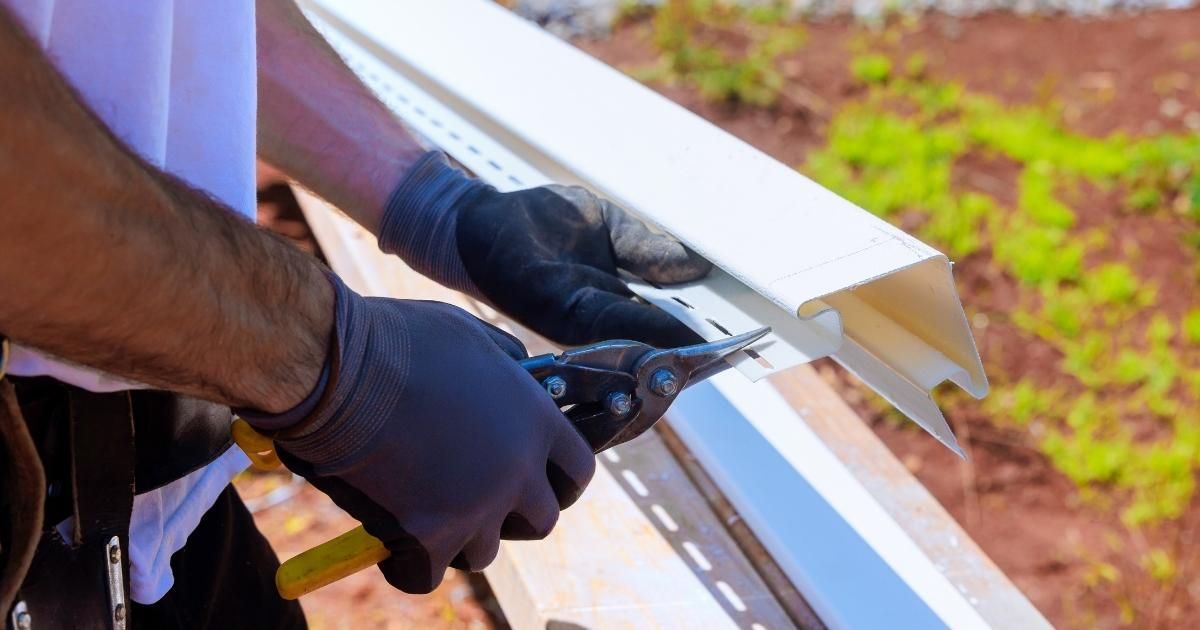
Step 2 – Measure and Cut the New Downspout
Always double-check your measurements before cutting. Correct measurements ensure proper water flow, avoid last-minute surprises, and affect your home’s aesthetics.
Use your measuring tape to measure the length from the gutter outlet to the endpoint, where the downspout extension redirects water away from the foundation.
Mark and cut the new gutter section to size with your hacksaw. Cut with a steady hand while the gutter section is firmly held. The goal is to cut a clean, straight edge. To prevent injury during handling, smooth rough edges with a metal file. Smoothing the edges also helps the sections to fit more securely.
Pro tip:
Dry-fit the downspout sections to double-check the length and alignment.
Now’s the time to ensure your adjustments are perfect - much better than trying adjustments after screws are in place.
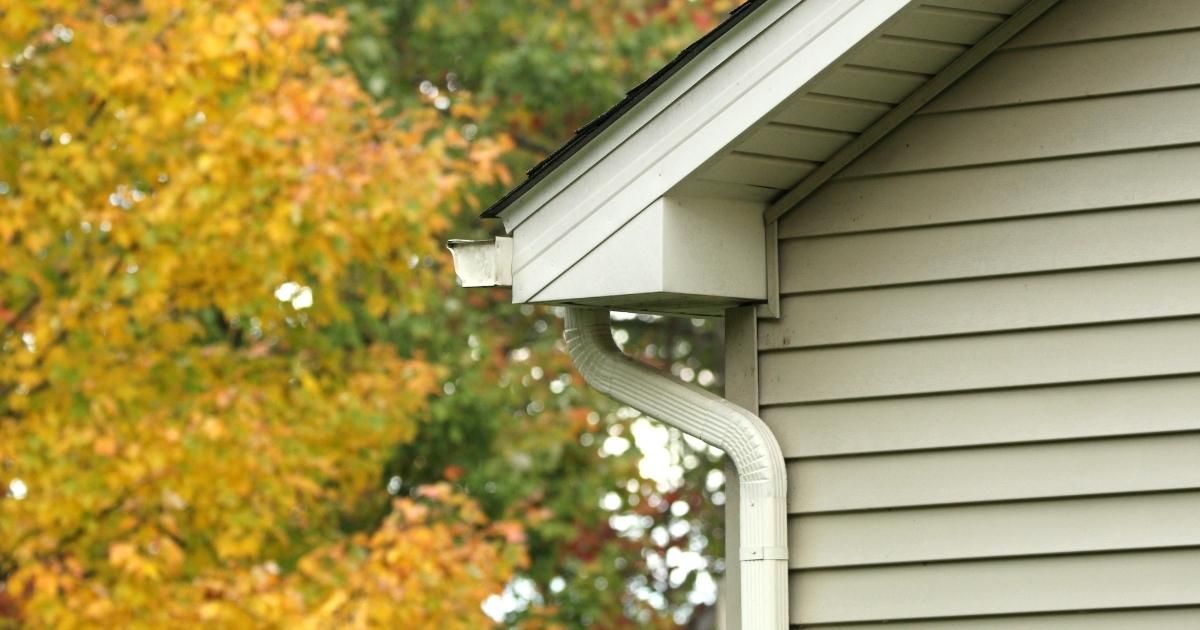
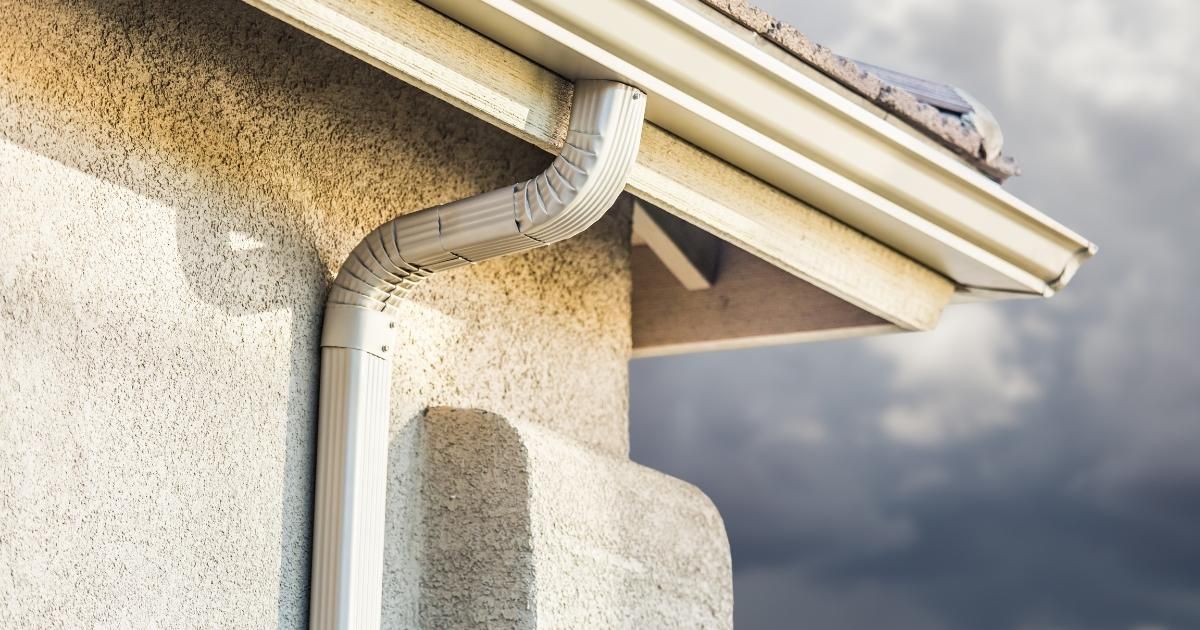
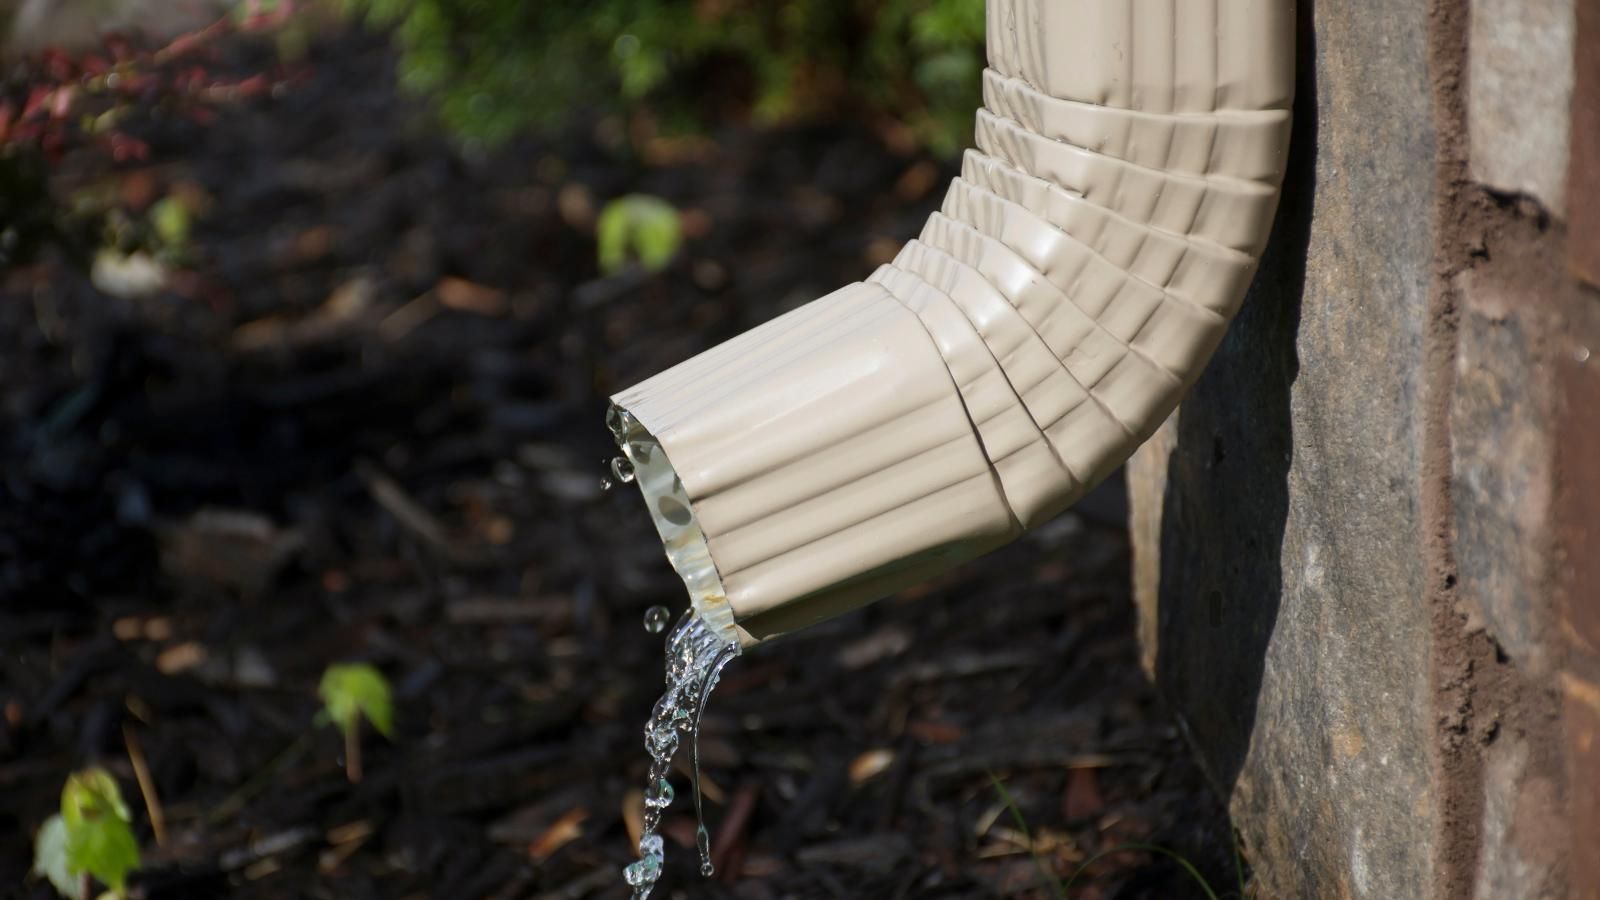
Step 3 – Attach the Downspout to the Gutter Outlet
The next step is securing your downspout in place. Remember that water flow should always be directed away from the house - it is the main function of your gutters. Slide the top section of the new downspout into the gutter outlet. The fit should be snug, but not too tight. Alter the cut, or use a metal file to refine the fit.
When adjustments are perfected, glue the joints with a generous bead of sealant. You are looking for a watertight seal to prevent leaks during heavy rainfall. Again, check the alignment of the downspout. Endure the angle directs water flow down and away from the foundation.
Pro Tip: To check the slope, use a level or run a small amount of water through the downspout to test the water flow.
Step 4 – Secure the Downspout to the Wall
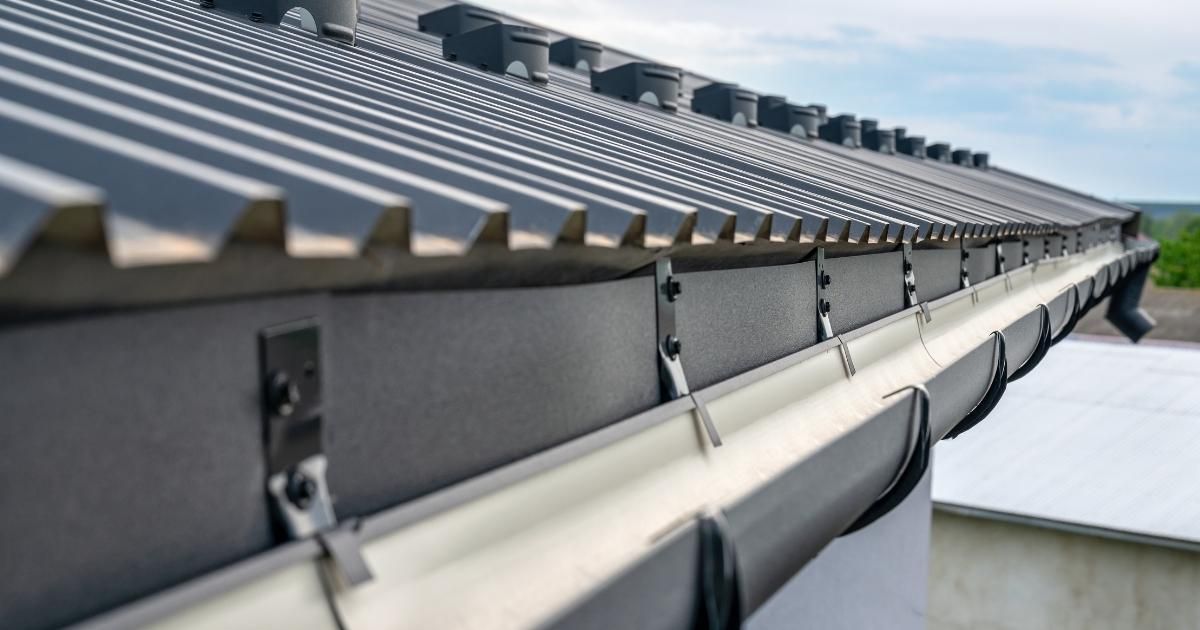
Secure the downspout with a bracket every 4 to 6 feet along the length of the downspout. This helps keep the downspout from shifting and creating an unseen bottleneck for clogs, run over and damage to your gutters if it starts to pull away.
Attach the brackets to the siding with your drill or screwdriver. It’s best to use water-resistant screws, as they hold up better against the elements. When attaching brackets with your drill, step back often to double-check the angle of your downspout gutter installation. A slight outward tilt just before the ground will significantly increase the water flow away from the house.
Pro Tip: You can adjust the angle by gently bending the strap before securing it, or add a spacer behind the bracket to change the angle of the downspout outward.
Step 5 – Connect the Downspout Extension
Finally, ensure the rainwater flows away from your home’s foundation again. Attach a downspout extension or use a splash block at the bottom opening of the downspout. Both options work well, so decide what works best for your situation. Flexible downspouts are also available for positioning around landscaping or tight corners.
Pro Tip: Inspect the function of the extension during or after storms for preventative maintenance.
How Do You Know When to Replace a Downspout?
Visible rust, persistent leaks, and frequent clogs are signs that it's time to replace your downspout. Left unchecked, faulty downspouts lead to foundation issues, soil erosion, and water seepage into basements or crawl spaces. These signs indicate it’s time for a new downspout gutter installation.
Protect Your Home with a Properly Installed Downspout
Motivated homeowners with the right tools and guidance can learn how to install a gutter downspout. Remove the old downspout, measure and cut the new one, attach it to the gutter outlet, secure it to the wall, and connect an extension to direct water away from the foundation, and you’re good to go.
A properly installed downspout protects your home from water damage and maintains gutter performance.
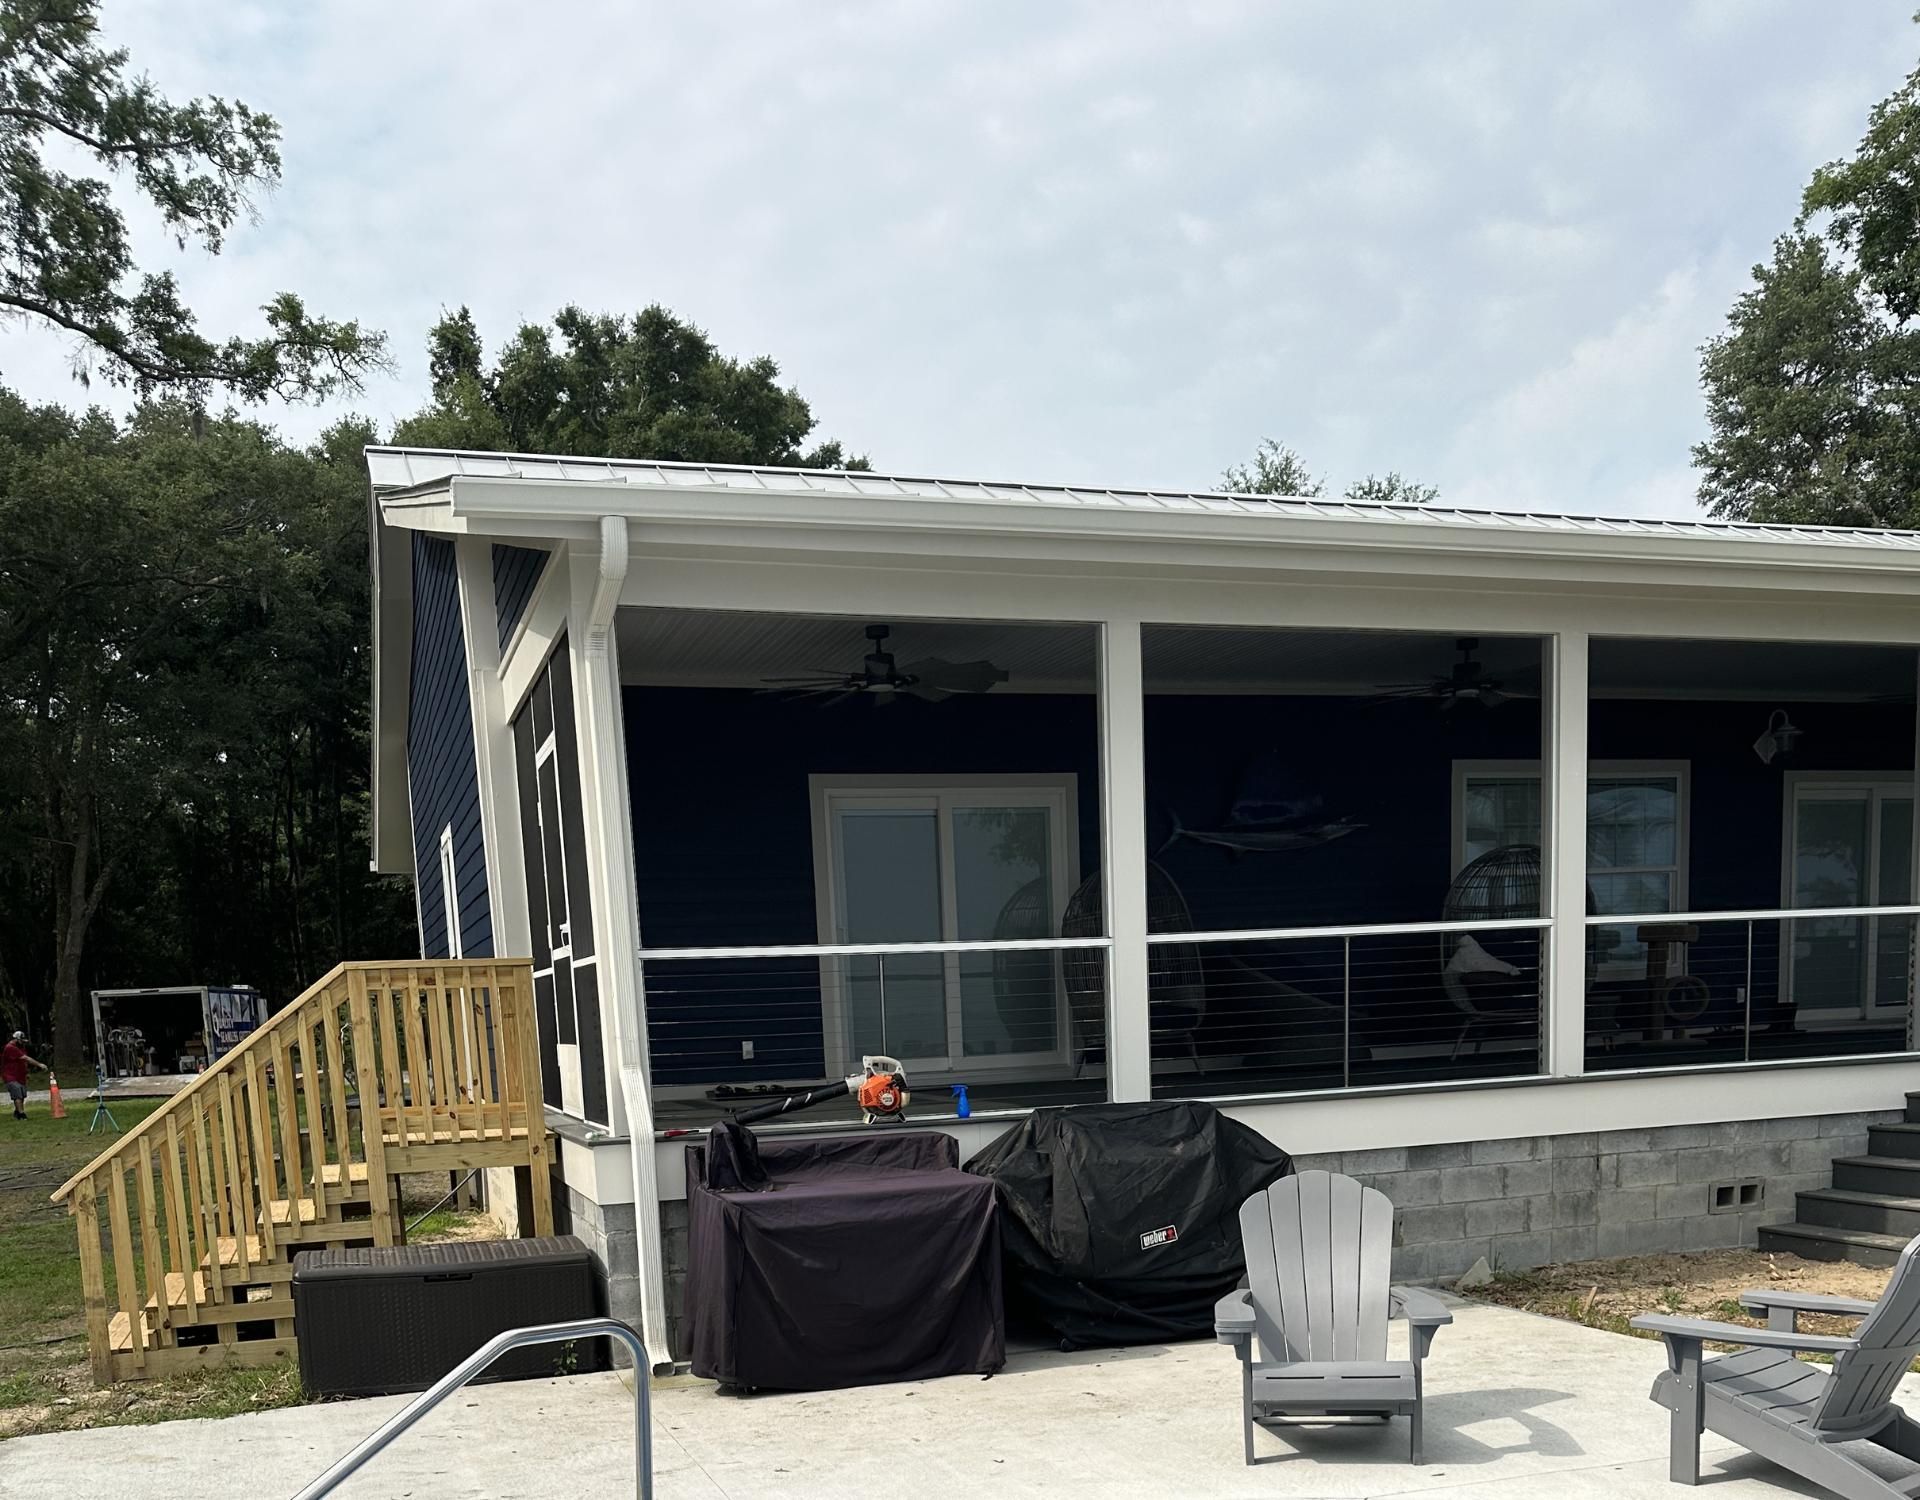
If you’re in Bluffton, SC, and ready to take it on, go for it - you’ve got this! If you’d like to leave it to the pros, contact Quality Seamless Gutters for expert downspout and gutter replacement services you can trust.